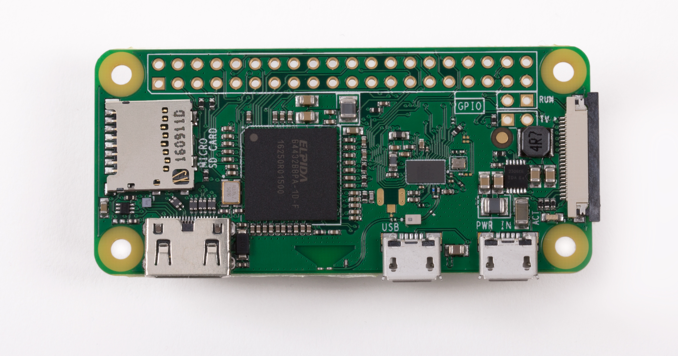
Configuring a Raspberry Pi Zero for the first time just got a lot easier.
When setting up your Raspberry Pi Zero for the first time, the typical process was to
- Format the SD card on your computer
- Plug the SD card into the Pi
- Hook up a monitor and keyboard
- Boot up the Pi and configure your wireless card, take note of the IP address it gets
- Remove the monitor and keyboard
- SSH to the Pi
- Continue any setup on the device
With OTG mode, the process is like this
- Format the SD card on your computer
- Tweak a few files on the SD card before ejecting it
- Plug the SD card into the Pi
- Plug the Raspberry Pi USB port into your computer
- SSH to the Pi
- Continue any setup on the device
This is a huge improvement as we no longer need to plug in the HDMI monitor or keyboard for initial setup!
When you plug the Pi into your computer in the above example, it is emulating a virtual Ethernet device. Essentially, your computer thinks you plugged a network card into it.
On top of the benefit of making initial setup easier, the OTG mode can do so much more. Many more modes are available to make the Pi emulate a multitude of hardware devices such as:
Serial (g_serial)
Ethernet (g_ether)
Mass storage (g_mass_storage)
MIDI (g_midi)
Audio (g_audio)
Keyboard/Mouse (g_hid)
Mass storage and Serial (g_acm_ms)
Ethernet and Serial (g_cdc)
Multi (g_multi) – Allows you to configure 2 from Ethernet, Mass storage and Serial
Webcam (g_webcam)
Printer (g_printer)
Gadget tester (g_zero)
This makes the Raspberry Pi like a hardware chameleon and opens up many possibilities for cool hacks.
Props to Andrew Mulholland for his work with this.
More information is at Andrew’s blog at:
https://gist.github.com/gbaman/975e2db164b3ca2b51ae11e45e8fd40a
http://blog.gbaman.info/?p=699 Part 1
http://blog.gbaman.info/?p=791 Part 2

Leave a Reply